
This is far from a complete guide but just meant as some tricks and tips regarding Always-On, please free to amend anything that is false and add other useful information to it.
Also refer to https://shortcut.db.com/SQLAlwaysON – Engineering guide
- Resyncing Databases
- Further Syncing Troubleshooting Steps:
- Using Extended events for monitoring of Always-on Health
- Adding a database to an Availability Group
- Removing a database from an Availability Group
- Patching
- Additional guides and notes
Resyncing Databases
If the Always-On dashboard is showing the databases as not synchronized (sync config) or not synchronizing (async config) then there are various steps that can be done so try and fix it:
- First try to resume the data movement/connection for the database on both sides, some times this needs to be done on the DR side rather than the prod side to try both.
- You can also try to suspend/resume the Data Movement, sometimes that helps.
- Next check the permissions (access to dump directories) and do a connectivity check between the hosts.
- The final option, if nothing else has worked, is to Remove and then Re-Add the database into the availability group (see below for instructions)
Further Syncing Troubleshooting Steps:
There are multiple reasons for the database not syncing status ranging from intermittent network issue, huge transaction, # of transactions, not ample space left on Secondary etc. The most common issue is probably intermittent network issue and not ample space left on the secondary. For example, a weekly maintenance job run and crate a huge log file. Some times, at the secondary server, there is not much space left for database file to grow and the Always On database synchronization status changes to one of the below.
Most of the time, when you see an issue with Always On availability group Synchronization it will be one of the below statuses for the Availability Database:
- Database is Restoring
- Database is Recovering
- Database is in Recovery pending
- Database is in Suspect
- Database is in Emergency
- Database is in Offline
Here are some steps to take if you encounter a recover Pending status: or any of the top 4 (Emergency and Offline are a bit different):
- Step 1: Restarted the Windows Cluster service on SSCHA2 node
- Step 2: Restarted the SQL Server service on SSCHA2 Node
- Step 3: Waited for couple of minutes and I see Always On is in Synchronized again
In any of the above situation one has to take a judgement based on what has caused the Always On Synchronization status to change and resolve it based on it. Most of the time, manually pausing and resuming Always On / HADR will work, in other case one has to review the logs and take the call.
Here is how to How to Troubleshoot Always On Synchronization Issues in general, the commands are run on the Replica side:
Code to SUSPEND Data Movement in Always ON
ALTER DATABASE <DBNAME> SET HADR SUSPEND
Code to RESUME Data Movement in Always ON
ALTER DATABASE <DBNAME> SET HADR RESUME
Using Extended events for monitoring of Always-on Health
Monitor SQL Server Always On Availability groups using extended events (sqlshack.com)
Adding a database to an Availability Group
Info on this can be found at Add a database to an availability group – SQL Server Always On | Microsoft Learn and a better guide at Add SQL databases in an existing availability group (sqlshack.com):
Example:
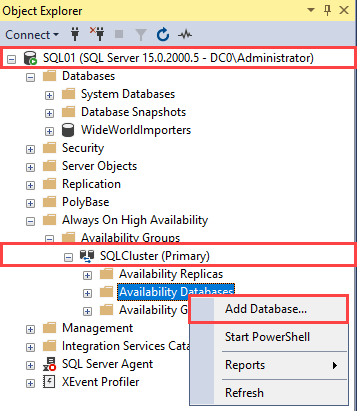
Launch SQL Server management studio on SQL01 ? Connect to the database engine ? Expand Always On High availability ? Expand Availability Groups ? Expand SQLCluster ? Right-click on Availability Databases ? Select Add Database.
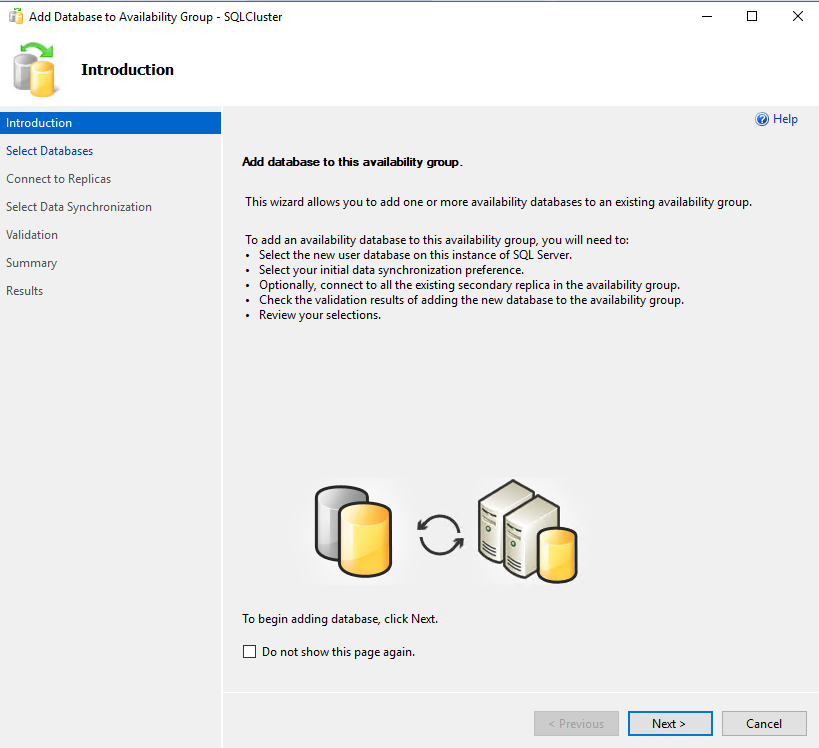
The Add Database… to Availability Group wizard starts. You can view the details and list of tasks performed by the wizard. Click Next.
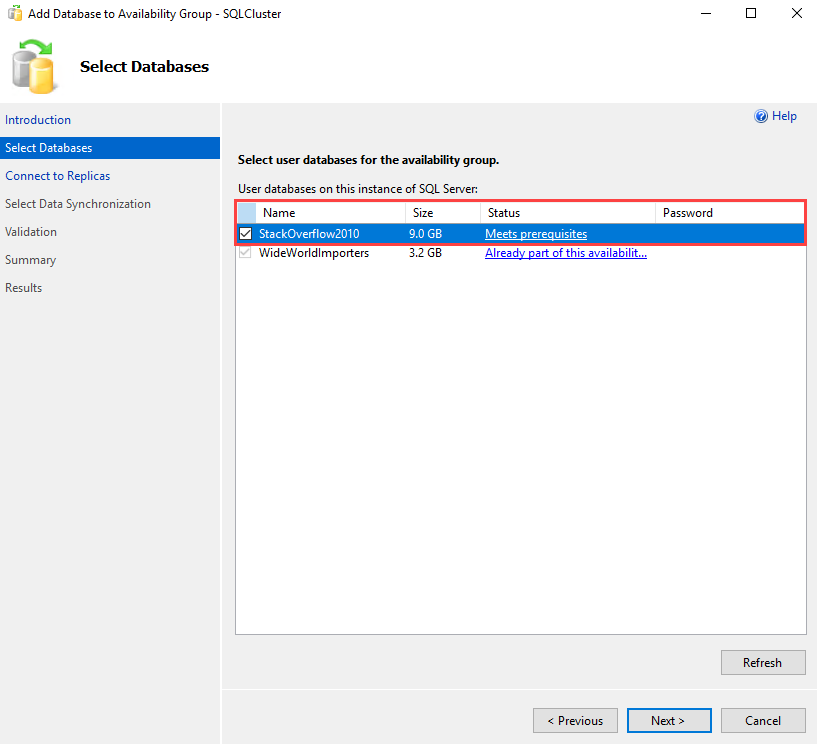
You can choose the database you want to add to the existing availability group. The list of databases is shown in the grid view with its status. You can select one or multiple databases from the list. In this demo, we are adding the StackOverFlow2010 database in SQLCluster, so tick StackOverFlow2010 from the list. Click Next.
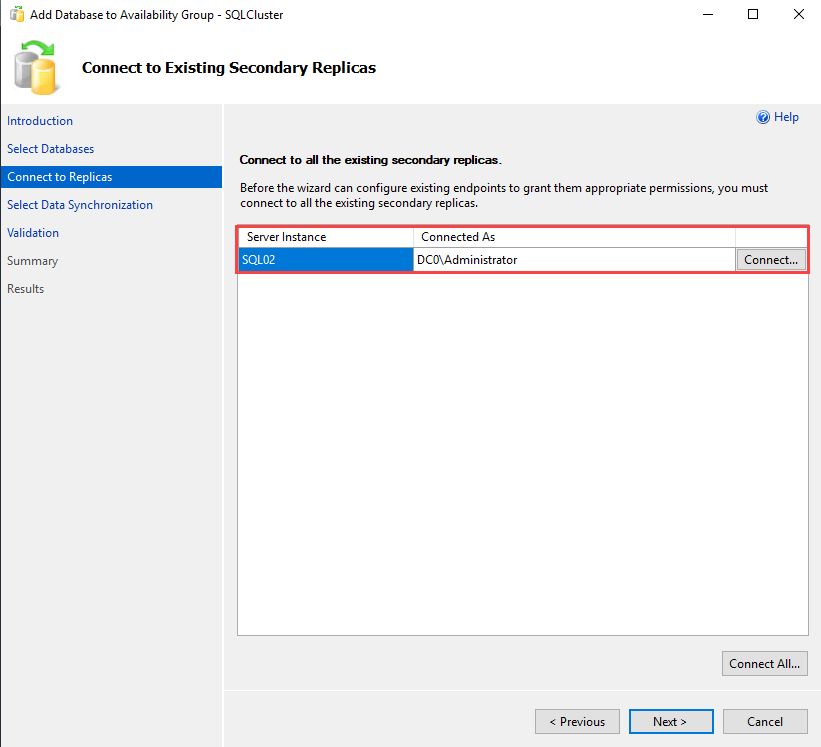
On the Connect to Existing Secondary Replicas screen, you can view the list of replicas used to create the availability group. The SQL02 is in the list of secondary replicas. To grant the appropriate permission to the existing endpoints, we must connect to the secondary replicas. To do that, click on Connect.
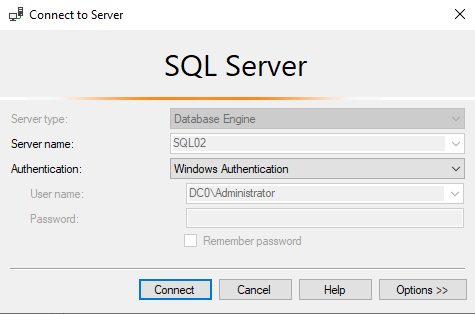
A Connect to Server dialog box opens. You can select the appropriate authentication method. We use Windows Authentication, so select Windows Authentication from the drop-down box.
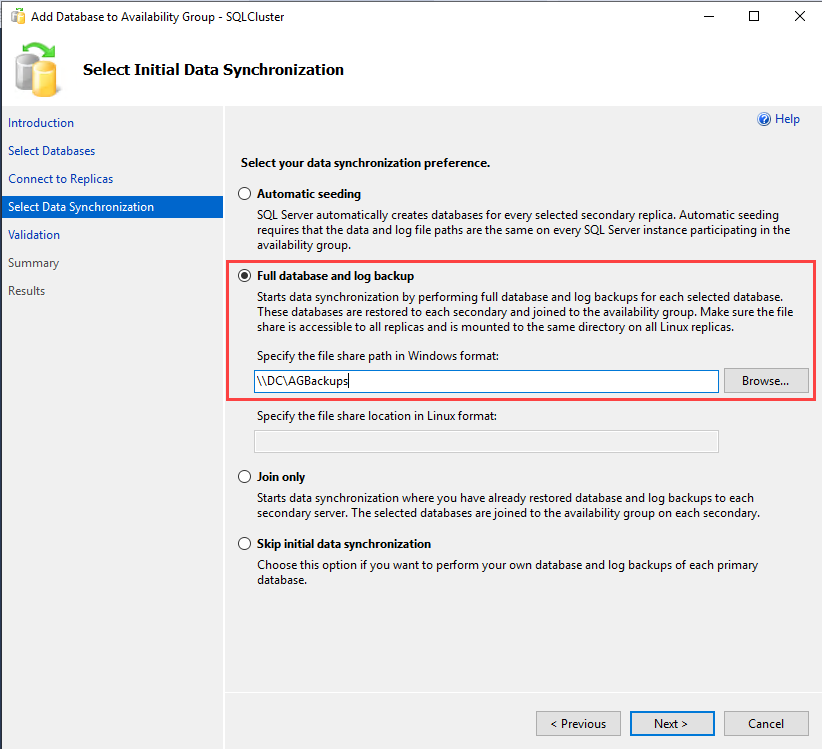
We can select the data synchronization preference on the Select Initial Data Synchronization screen. You can select any of the following methods.
- Automatic seeding: SQL Server automatically creates the database and starts the seeding in this method. To use this method, the directory structure (data file path and log file path) on all participating replicas must be the same.
- Full database and Log backup: The wizard will start the data synchronization by generating a full backup and log backup of the database. The backups will be restored on the secondary replicas and join the availability group. We must create a network share to keep full and log backups in this method. Make sure that it is accessible from all secondary replicas and has required permissions.
- Join Only: This method is used when you have restored the backup of the database on secondary replicas. The wizard will start the data synchronization by joining the databases in an availability group.
- Skip initial data synchronization: If you want to manually generate the full and log backup of the database.
In the demo, we are using the Full database Log backup method; therefore, select Full database and Log backup. The network shares to keep full, and log backups are \\DC\AGBackups therefore, specify it in the file share path. Click Next.
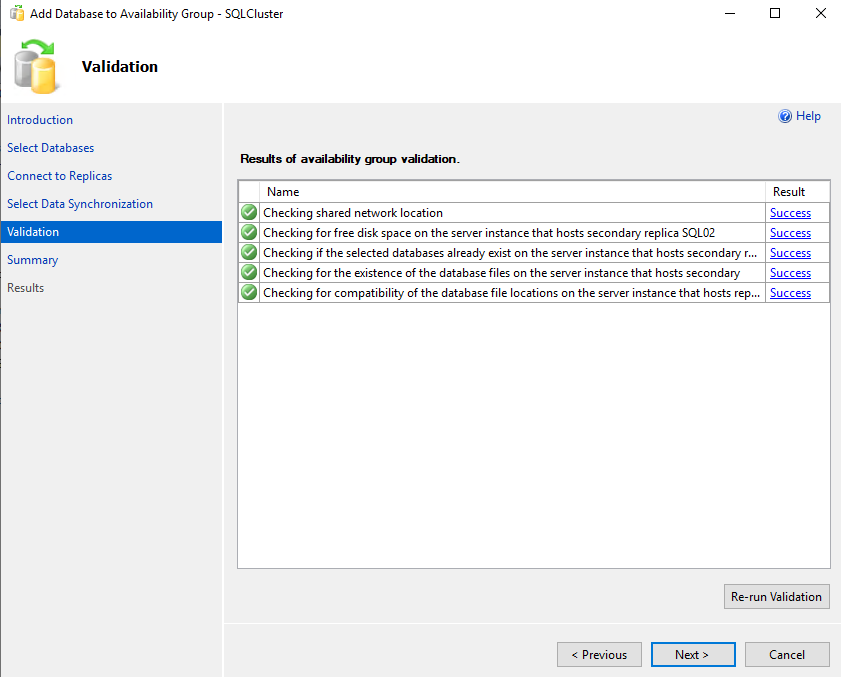
The wizard will run an availability group validation test. It checks the following parameters:
- Shared Network location
- Free disk space on secondary replicas
- Checks whether the selected database exists on the SQL02 replica
- Compatibility of the data file locations on the SQL02 replica
The wizard will not continue until all validation tests are completed successfully. In our demo, the validation test was completed successfully.
You can verify the configuration and settings we have selected in the wizard on the summary screen. Click on the script to generate the script of the task performed by the availability group wizard. Click on Finish.
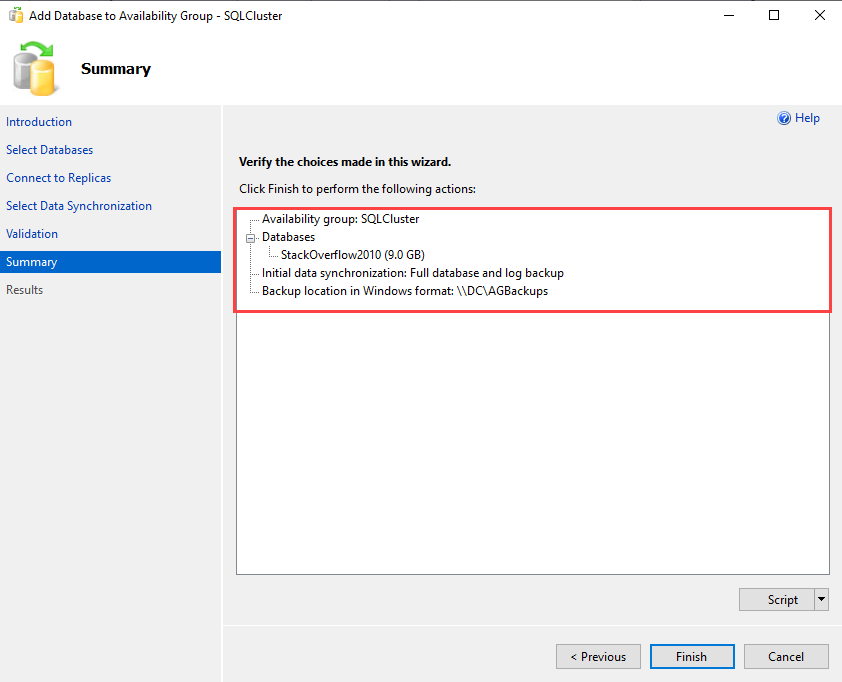
The wizard begins the process to add the Stackoverflow2010 database in the SQLCluster availability group.
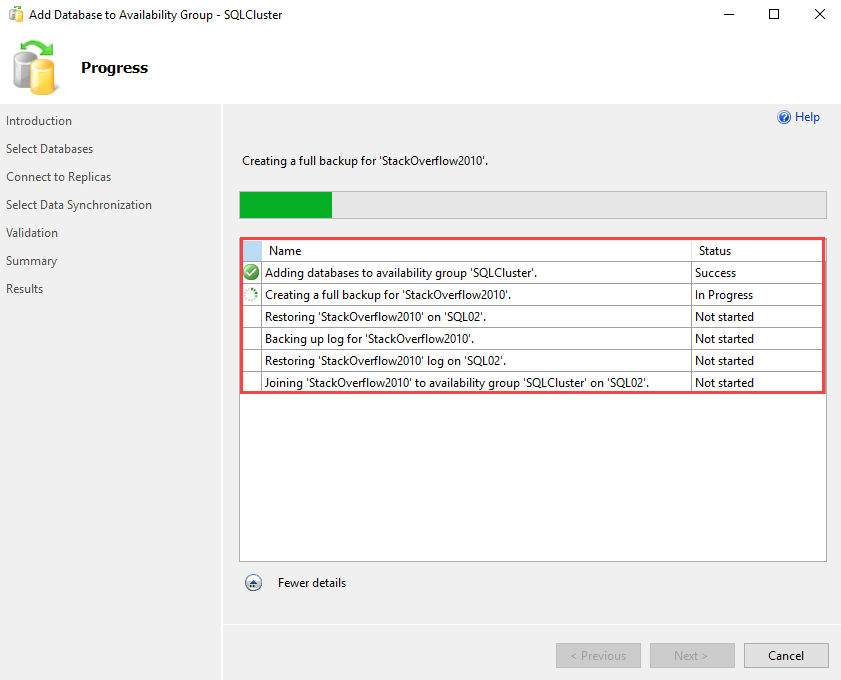
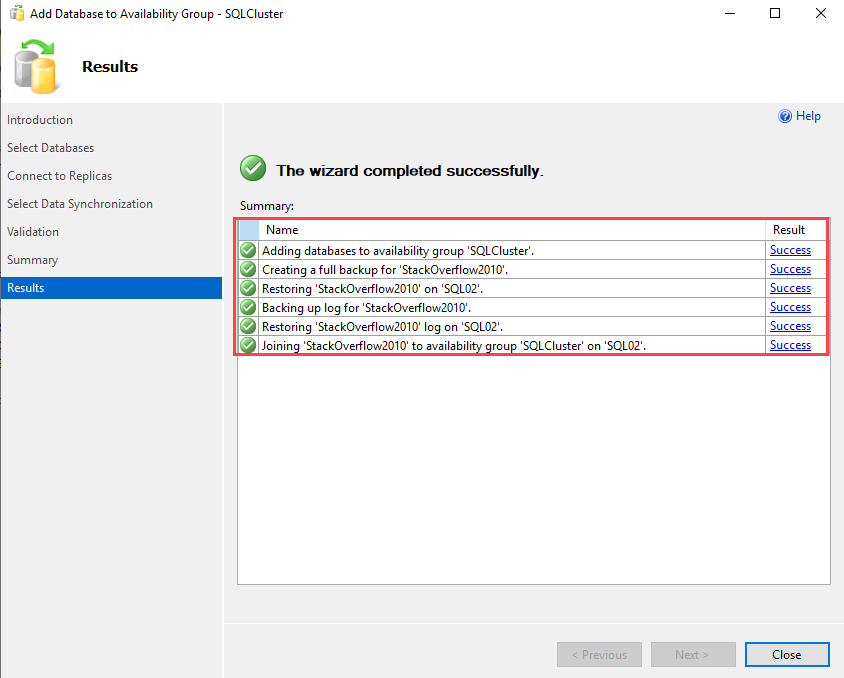
The time taken by the wizard depends on the time taken by the backup and restore process of the database. You can view the list of tasks completed by the wizard on the Results screen.
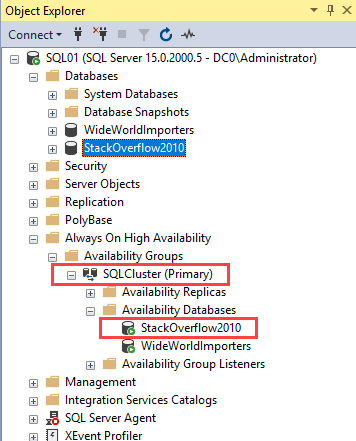
Once the database is added successfully, you can see it under the Availability Database node.
You can view it in the availability group dashboard. To open the availability group dashboard, Expand SQLCluster ? Right-click on Availability Databases and select Show Dashboard.
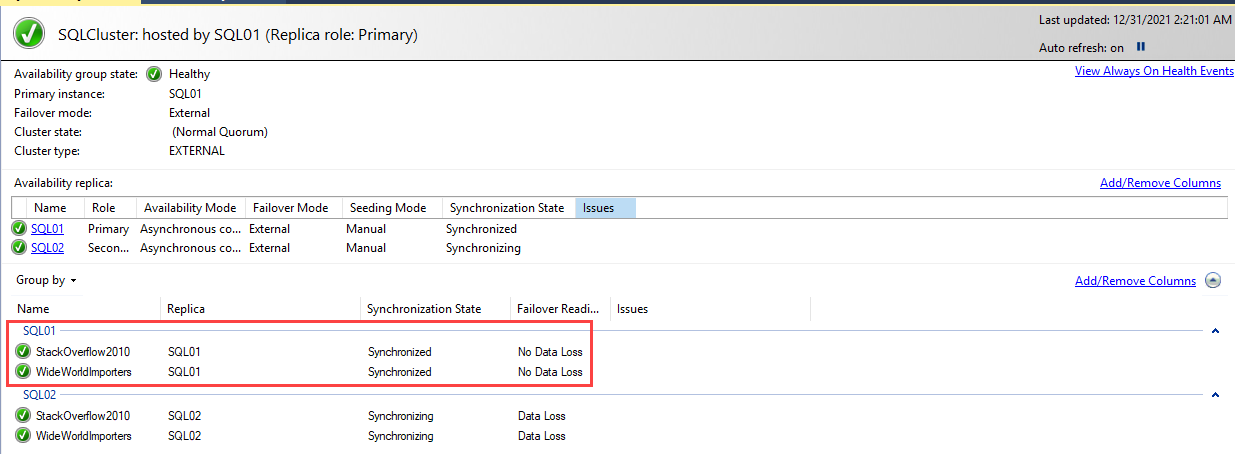
As you can see in the above image, the Stackoverflow2010 database has been added.
Removing a database from an Availability Group
If a database just won’t sync up properly or you need to restore the primary from backup etc then you will need to remove it from the availability group, this is quite straight forward and some extra info can be found at Remove database from an availability group – SQL Server Always On | Microsoft Learn
To remove an availability database
- In Object Explorer, connect to the server instance that hosts the primary replica of the database or databases to be removed, and expand the server tree.
- Expand the Always On High Availability node and the Availability Groups node.
- Select the availability group, and expand the Availability Databases node.
- This step depends on whether you want to remove multiple databases groups or only one database, as follows:
- To remove multiple databases, use the Object Explorer Details pane to view and select all the databases that you want to remove.
- To remove a single database, select it in either the Object Explorer pane or the Object Explorer Details pane.
- Right-click the selected database or databases, and select Remove Database from Availability Group in the command menu.
- In the Remove Databases from Availability Group dialog box, to remove all the listed databases, click OK. If you do not want to remove all them, click Cancel.
Removing an availability database from its availability group ends data synchronization between the former primary database and the corresponding secondary databases. The former primary database remains online. Every corresponding secondary database is placed in the RESTORING state.
At this point there are alternative ways of dealing with a removed secondary database:
- If you no longer need a given secondary database, you can drop it.
- If you want to access a removed secondary database after it has been removed from the availability group, you can recover the database. However, if you recover a removed secondary database, two divergent, independent databases that have the same name are online. You must make sure that clients can access only one of them, typically the most recent primary database.
Patching
To upgrade a SQL Server failover cluster instance, use SQL Server setup to upgrade each node participating in the failover cluster instance, one at a time, starting with the passive nodes. As you upgrade each node, it is left out of the possible owners of the failover cluster instance. If there is an unexpected failover, the upgraded nodes do not participate in the failover until Windows Server failover cluster role ownership is moved to an upgraded node by setup.
In other words we should really try to upgrade both nodes of am Always-On Cluster at the same time.
Upgrade a failover cluster instance – SQL Server Always On | Microsoft Learn
Additional guides and notes
SQL Server Availability Groups Tips, Tutorials, Webinars and more (mssqltips.com)
AlwaysOn Availability Groups: Step by Step Setup Tutorials (brentozar.com)